Building customer-facing, configurable webhooks with Knock
In this guide, we’ll walk through how Knock can be used to send per-customer configurable webhooks as part of your notification workflows.
Using objects and subscriptions to power webhooks
Let's take a hypothetical application comprised of projects that users belong to. Our customers can configure webhooks for each of their project. We can express this as “a project can have one or more configured webhooks”.
In Knock, we’ll model this as follows:
- Every customer configured webhook will be an object in Knock that will house the webhook configuration.
- All webhooks a customer configures will belong to a single
projectobject using object subscriptions to express the relationship between the project and the webhooks configured for that project.
First we’ll upsert the project as an object in Knock. We’re putting the project under a projects collection.
Now, when a customer creates or updates a webhook in our system we’ll upsert a corresponding project_webhooks object and associate it back to the project object via a subscription.
If at any point we need to list all of the configured webhooks for a given project, we can do so by listing the subscriptions for the project:
Configuring an HTTP channel
Now we’re going to configure our Webhook HTTP channel in Knock. You can learn how to configure a Webhook HTTP channel in our webhook channel overview.
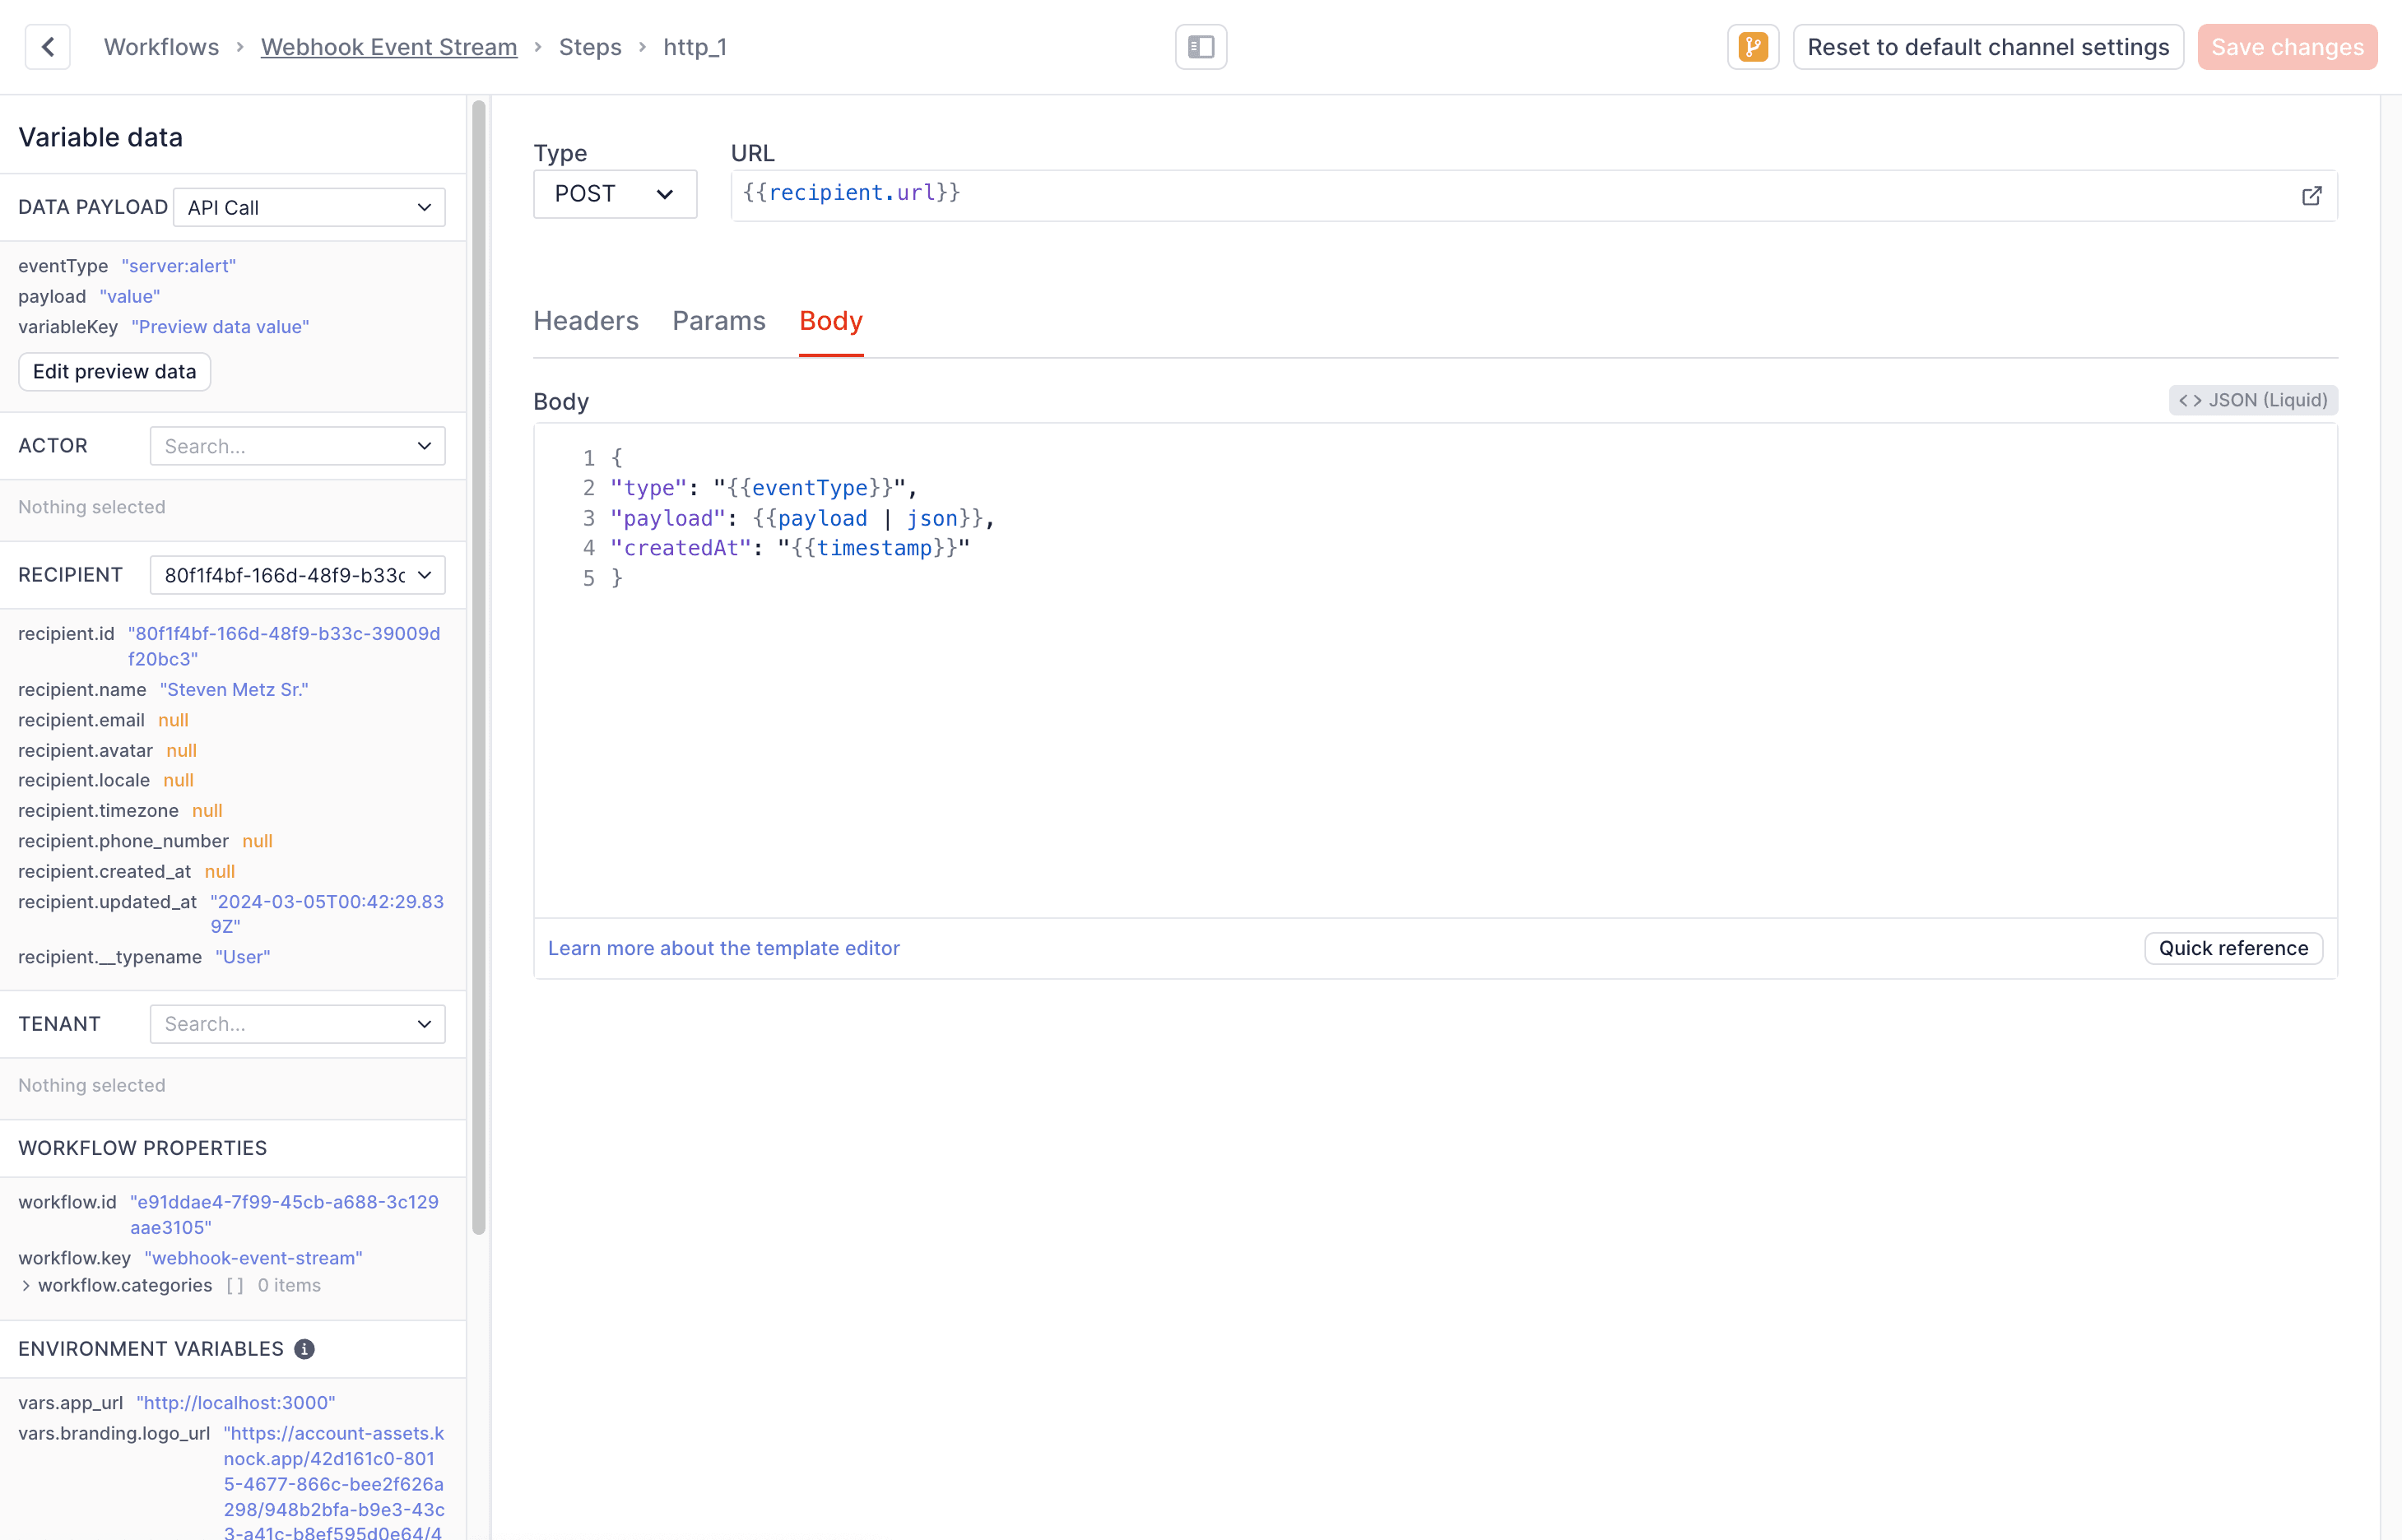
Next, we’ll configure the webhook request for our new webhook channel. For the channel URL we’re going to configure it as {{ recipient.url }} which tells Knock to use the URL configured on the webhook recipient object:

And for the body of the payload that we send per webhook event, we’ll use the following template:
If you are passing a JSON payload to the webhook, you can use the json filter to ensure that the payload is correctly serialized.
Building your webhook notification workflow
Now we can build our notification workflow that sends out a webhook when the customer has a webhook configured for the object.
To get started:
- Create a new workflow in Knock
- Add a webhook channel step to your workflow
- Configure the step to use your customer webhook channel
- Save and commit your workflow
We don't need to customize any of the data sent in the webhook channel, so we can keep everything as-is with the default configuration.
Triggering your webhook notification workflow
Now our workflow is configured, we can trigger it via the API. We’ll pass the project as a recipient to the workflow, which will automatically trigger our workflow to execute for all webhooks configured.
This works as Knock will automatically fan-out to all webhooks subscribed to the project as part of the execution, meaning that the workflow is invoked for the project and for each webhook as a recipient.
Advanced topics
Debugging failed webhook deliveries
You can use the Message logs within Knock in order to debug messages sent, where you’ll see delivery logs about the request to the customer’s webhook channel.
Since your customers won't have access to Knock, you can use the Message delivery logs API to create UI in your application that lets developers inspect the request/response interaction between Knock and their downstream URL.
Reporting on failed webhook deliveries
You might want to provide a way to notify your customers that their webhooks are failing. You can do so by leveraging Knock’s outbound webhooks features to create a webhook callback to your server that listens for message.undelivered events.
Providing a dynamic signing key
You will likely want to provide a way for your customers to verify that the webhook request is coming from Knock. You can do so by providing a signing key in your webhook channel's configuration that Knock will use to sign the request with an HMAC/SHA256 signature.
For customer-facing webhooks, you can provide a UI for your customers to configure a signing key; you'll want to configure this in Knock as a dynamic signing key using Liquid variables.